Embroidery Digitizing Experts for Better Results
A logo can look flawless on a screen and still turn out poorly on fabric. The difference often comes down to one thing: how the artwork was prepared for stitching.
Embroidery digitizing experts know how to turn artwork into a stitch-based design that an embroidery machine can understand. They consider stitch types, density, direction, underlay, sequencing, fabric, and design size before the file reaches production.
Think of digitizing like translating a drawing into a language made of thread. The better the translation, the closer the final embroidery will look to the original artwork.
What Is Embroidery Digitizing?
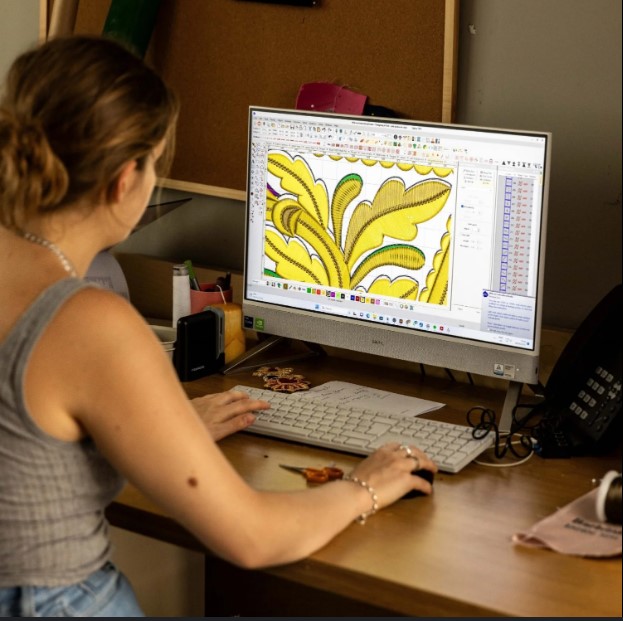
Embroidery digitizing is the process of converting artwork into a digital embroidery file containing instructions for an embroidery machine.
The digitizer decides how different parts of the artwork should be stitched. This may include:
- Stitch type
- Stitch direction
- Stitch density
- Underlay
- Stitch sequence
- Thread colors
- Design dimensions
- Pull compensation
The finished file can then be exported into a format supported by the intended embroidery machine.
What Do Embroidery Digitizing Experts Do?
Embroidery digitizing experts do much more than convert an image into a machine file.
They study the artwork and make technical decisions based on how thread behaves on fabric.
Analyze the Artwork
The first step is examining the logo, illustration, lettering, or other artwork.
The digitizer looks for:
- Fine details
- Small text
- Thin outlines
- Overlapping shapes
- Large filled areas
- Curved edges
- Color combinations
Some details may need to be simplified because embroidery has physical limits that digital artwork does not.
Choose the Right Stitch Types
Different areas of a design require different stitch structures.
Satin stitches are commonly used for borders, lettering, and narrow shapes.
Fill stitches are useful for covering larger areas.
Running stitches can work well for thin lines and fine details.
Choosing the appropriate stitch type helps create a balanced and attractive design.
Control Stitch Density
Stitch density determines how closely stitches are placed together.
If density is too low, fabric may show through the design. If it is too high, the embroidery can become bulky and may cause thread breaks or fabric distortion.
Experienced digitizers adjust density according to the design, fabric, and intended size.
Why Fabric Matters in Digitizing
The same design can behave differently on different materials.
A logo stitched on a stable cotton shirt may need different settings from one stitched on stretchy fabric, fleece, denim, or a cap.
Professional digitizing takes fabric behavior into account.
For example, stretchy materials may require stronger stabilization and carefully planned underlay. Heavy fabrics may support dense designs differently from lightweight garments.
This is one reason a generic auto-digitized file may not perform as well as a carefully prepared design.
The Embroidery Digitizing Process
A typical professional workflow involves several stages.
1. Artwork Preparation
The source artwork is cleaned and reviewed before digitizing begins.
Unnecessary backgrounds, low-quality elements, and confusing details may need to be removed.
2. Design Planning
The digitizer decides how the artwork will be divided into embroidery objects.
This includes selecting stitch types and planning the overall stitch path.
3. Stitch Creation
The artwork is recreated using embroidery stitches rather than pixels.
Each object receives appropriate settings for its shape and purpose.
4. Underlay and Compensation
Underlay helps create a stable foundation for the visible stitches.
Pull compensation can also help account for the way fabric moves or pulls during stitching.
5. Sequencing
Objects are arranged in a logical stitching order.
Good sequencing can reduce unnecessary jumps, trims, color changes, and production problems.
6. Quality Checking
The completed design is reviewed digitally before production.
Important elements include:
- Stitch count
- Design dimensions
- Thread colors
- Density
- Object order
- Small lettering
- Potential problem areas
7. Test Stitching
Whenever possible, the design should be test stitched on similar fabric.
This provides real-world feedback that a computer preview cannot fully provide.
Common Problems Experts Help Prevent
Poor digitizing can create several frustrating embroidery problems.
Thread Breaks
Excessive density, unsuitable stitch settings, or poor sequencing can contribute to frequent thread breaks.
Fabric Puckering
Too many stitches or inadequate stabilization can pull fabric and create unwanted wrinkles around the design.
Uneven Coverage
If fill areas are not planned properly, some sections may appear thin while others look overly heavy.
Poor Small Lettering
Tiny text is one of the hardest parts of embroidery. Letters that look clear on a screen may become difficult to read after stitching.
Misaligned Details
Poor sequencing or unsuitable compensation can cause different sections of a design to appear out of position.
When Should You Hire Embroidery Digitizing Experts?
Professional help can be especially useful when the design is complex or the embroidery is intended for commercial use.
Consider working with a specialist if you need:
- Company logo digitizing
- Custom embroidery designs
- Small lettering
- Cap and hat embroidery
- Jacket-back designs
- Detailed artwork
- 3D puff embroidery
- Appliqué designs
- Multiple machine formats
- Production-ready embroidery files
If the design will be used repeatedly, investing in proper digitizing can also help maintain consistent results across multiple garments.
How to Prepare Artwork for Digitizing
You can make the process easier by providing useful information with your artwork.
Send High-Quality Artwork
A clean, high-resolution image is easier to analyze than a blurry screenshot.
Vector artwork can be especially useful when available.
Provide the Final Size
Tell the digitizer the approximate width and height of the finished embroidery.
A design created for a small chest logo may need a different approach from a large back design.
Mention the Fabric
Let the digitizer know whether the design will be stitched on:
- Cotton
- Polyester
- Denim
- Fleece
- Canvas
- Stretch fabric
- Caps or hats
Explain the Intended Use
A one-time personal project may have different requirements from a logo that will be embroidered hundreds of times.
Sharing this information helps the digitizer make better technical decisions.
How to Choose Reliable Embroidery Digitizing Experts
Not every digitizing service approaches designs in the same way. Before choosing a specialist, consider several practical factors.
Review Their Previous Work
Look for examples showing different design styles, sizes, and stitch types.
Pay attention to lettering, curves, borders, and overall stitch quality.
Ask About File Formats
Make sure the service can provide the format required by your embroidery machine.
Common machine formats include:
- DST
- PES
- JEF
- EXP
- VP3
- HUS
- XXX
Check Their Revision Process
Ask whether adjustments are available if the sample stitch does not perform as expected.
A good workflow should allow technical issues to be corrected.
Discuss Turnaround Time
If you are working on a production deadline, confirm the expected delivery time before starting the project.
Consider Test Stitching
A test sample can reveal problems that may not be obvious in a digital preview.
Automatic Digitizing vs. Expert Digitizing
Automatic digitizing tools can be useful for simple artwork, especially when the design has clear shapes and limited detail.
However, automatic software may not understand the practical requirements of every fabric or embroidery application.
Human digitizers can make decisions based on stitch behavior and production needs.
For example, they can simplify tiny details, change stitch directions, adjust density, modify underlay, and reorganize the stitch sequence when necessary.
The right choice depends on the complexity of the artwork and the quality required.
Tips for Better Embroidery Results
Even a professionally digitized file benefits from proper production preparation.
Follow these tips:
- Use the correct needle and thread for the material.
- Choose suitable stabilizer for the fabric.
- Keep the embroidery machine properly maintained.
- Use the recommended hoop size.
- Test unfamiliar designs before full production.
- Avoid resizing embroidery files excessively.
- Keep the original digitized file for future adjustments.
Remember that a good embroidery result depends on both the digital file and the physical embroidery setup.
Benefits of Working With Embroidery Digitizing Experts
Professional digitizing can offer several practical advantages.
Cleaner Stitching
Careful stitch planning can produce smoother edges and better coverage.
Better Detail
Experienced digitizers know when to preserve detail and when to simplify it for embroidery.
Improved Consistency
A properly prepared design can help maintain a similar appearance across repeated production runs.
Reduced Waste
Testing and correcting the file before production can reduce wasted garments, thread, and machine time.
Better Machine Compatibility
A properly prepared file can be exported in the appropriate format for the intended machine.
Conclusion
Embroidery digitizing experts play an important role in turning digital artwork into practical embroidery designs. Their work goes beyond file conversion and involves planning stitch types, density, direction, underlay, sequencing, sizing, and fabric requirements.
Whether you are preparing a business logo, custom artwork, lettering, or a detailed promotional design, the quality of the digitized file can have a major impact on the finished embroidery.
Start with clean artwork, provide the final size and fabric details, choose an experienced digitizer, and test the design before large-scale production. These simple steps can help you achieve cleaner, more reliable embroidery results.
FAQs
1. What are embroidery digitizing experts?
Embroidery digitizing experts are specialists who convert artwork into digital embroidery files by planning stitches, density, direction, sequencing, underlay, and other technical settings.
2. Why is professional embroidery digitizing important?
Professional digitizing helps adapt artwork to the physical limitations of thread and fabric. It can improve stitch quality, detail, coverage, and production reliability.
3. Can embroidery digitizing experts work with JPG and PNG files?
Yes. JPG and PNG images can often be used as source artwork. Higher-quality images make it easier to identify shapes, colors, and details during digitizing.
4. What information should I provide to a digitizer?
Provide the artwork, desired embroidery size, fabric type, intended placement, preferred thread colors if applicable, and the embroidery machine or required file format.
5. Can a digitized embroidery design be resized?
It can often be resized to some extent, but significant resizing may affect stitch density and design quality. In many cases, major size changes require adjustments or re-digitizing.

You may also like

Professional PXF File Conversion: Complete Guide