Convert Logo into JEF File: A Complete Guide
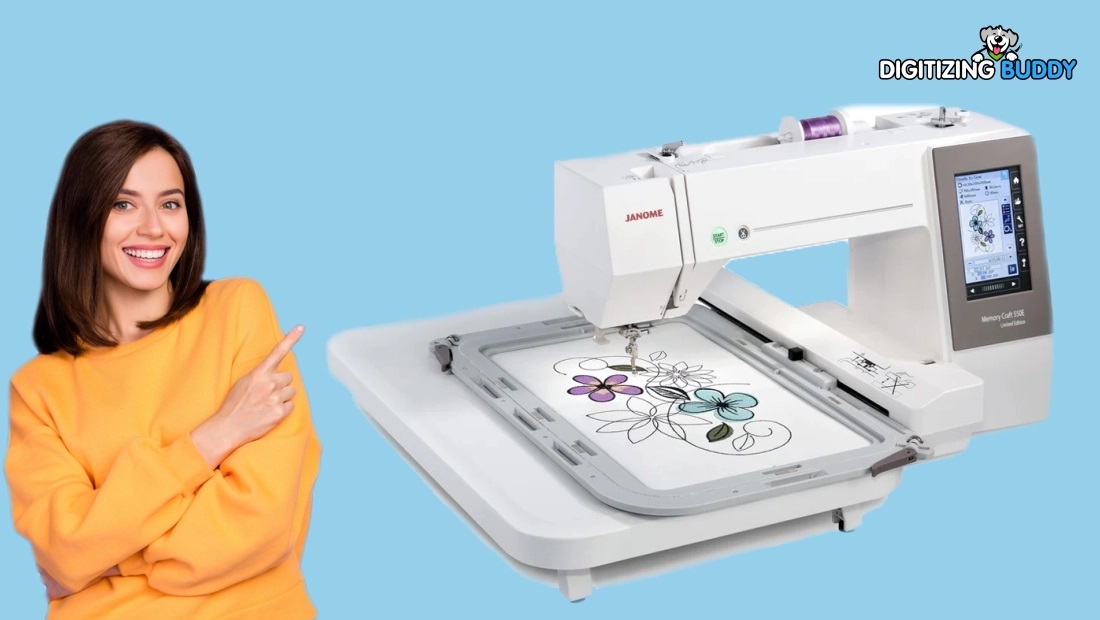
A logo may look perfect on your screen, but embroidery tells a different story. A tiny detail that looks sharp in an image can become messy when stitched onto fabric. That is why you need more than a simple file conversion.
To convert logo into JEF file, your artwork must be prepared and digitized so an embroidery machine can understand it. JEF is an embroidery file format commonly associated with Janome machines, and converting artwork correctly can help produce cleaner stitches, better detail, and more reliable results.
Whether you are preparing a company logo, sports emblem, monogram, or custom design, understanding the conversion process can save time and prevent costly stitching mistakes.
What Is a JEF Embroidery File?
JEF is an embroidery machine file format used with compatible Janome embroidery machines. Unlike JPG, PNG, or other image formats, a JEF file contains embroidery information rather than simply storing a picture.
A stitch file can contain details such as:
- Stitch placement
- Stitch direction
- Thread color information
- Stitch sequence
- Design size
- Needle movement instructions
When you convert logo into JEF file, the goal is to transform visual artwork into a structured embroidery design that the machine can read.
Why Convert a Logo into JEF Format?
Logos are often created as digital artwork for websites, packaging, signs, and marketing materials. Those files are not automatically ready for embroidery.
Converting a logo to JEF format makes it possible to use the design with compatible embroidery equipment.
There are several reasons businesses and embroiderers convert logos into JEF files:
1. Use Logos on Embroidery Machines
A properly prepared JEF design can be loaded onto a compatible machine and stitched onto garments, caps, bags, uniforms, and other materials.
2. Preserve Brand Identity
A logo represents a business or organization. Accurate digitizing helps maintain its important shapes, lettering, and colors while adapting it for embroidery.
3. Improve Stitch Quality
Professional digitizing considers fabric type, stitch density, underlay, stitch direction, and other technical details. These factors can make a major difference in the finished design.
4. Prepare Designs for Different Fabrics
A logo stitched on a cotton shirt may behave differently from one stitched on a jacket or cap. Proper embroidery digitizing can account for these differences.
Can You Directly Convert JPG or PNG to JEF?
Technically, software can convert an image file into an embroidery format. However, simply changing the file extension does not create a usable embroidery design.
A JPG contains pixels. A JEF file contains embroidery instructions.
This means a proper logo to JEF conversion normally requires digitizing. The artwork is analyzed and recreated using embroidery stitches.
For example, imagine a logo containing a circle, bold lettering, and a small icon. The digitizer must decide which parts should use satin stitches, fill stitches, or running stitches. The design may also need underlay and pull compensation.
That is why professional conversion is more than clicking an “Export” button.
How to Convert Logo into JEF File
The exact workflow can vary depending on the artwork and software, but a typical process looks like this.
Step 1: Prepare the Logo
Start with the cleanest version of your logo available.
A high-resolution image or vector artwork is usually easier to work with because shapes and edges are clearer.
Useful source formats may include:
- PNG
- JPG
- SVG
- EPS
- AI
A clean source image reduces the amount of manual reconstruction required.
Step 2: Analyze the Artwork
Before digitizing, examine the logo carefully.
Look for:
- Small details
- Thin lines
- Text
- Overlapping shapes
- Color areas
- Fine outlines
- Gradients
- Shadows
Not every visual detail can be reproduced exactly in thread. Some elements may need to be simplified.
Step 3: Choose Suitable Stitch Types
Different parts of a logo may require different stitch structures.
Satin stitches work well for borders, lettering, and narrow shapes.
Fill stitches are useful for larger areas.
Running stitches can work for thin lines and fine outlines.
Choosing the wrong stitch type can result in poor coverage, uneven edges, or unnecessary thread use.
Step 4: Set Stitch Direction and Underlay
Stitch direction affects how light reflects from embroidered thread.
Underlay provides a foundation beneath the visible stitches. It can help stabilize fabric and improve the appearance of the top layer.
These settings should be adjusted according to the design and fabric rather than using the same settings for every logo.
Step 5: Adjust Stitch Density
Stitch density refers to how closely stitches are placed together.
Too few stitches can leave fabric showing through. Too many can make the design stiff, bulky, or prone to thread breaks.
A balanced density helps create a cleaner and more comfortable result.
Step 6: Set the Design Size
Embroidery designs should be created at the size they are actually expected to be stitched.
A logo intended for a shirt chest may require different settings from a small sleeve logo or a large jacket-back design.
Small lettering deserves special attention because embroidery cannot reproduce extremely tiny text in the same way as printed artwork.
Step 7: Save or Export as JEF
Once the design has been digitized and checked, it can be exported in JEF format using compatible embroidery software.
At this stage, verify that the file contains the correct:
- Design dimensions
- Thread sequence
- Color changes
- Stitch information
- Machine-compatible settings
Step 8: Test Stitch the Design
A digital preview is useful, but a test stitch provides a much better indication of how the design will perform on fabric.
If possible, test the logo on material similar to the final garment.
Check for:
- Thread breaks
- Poor coverage
- Misaligned sections
- Small lettering problems
- Fabric puckering
- Uneven edges
Make adjustments before producing the final batch.
Common Problems When Converting Logos to JEF
Not every logo converts smoothly. Certain artwork characteristics can create challenges.
Tiny Text
Very small lettering may lose clarity when converted into stitches. Simplifying the font or increasing its size can sometimes improve readability.
Fine Lines
Extremely thin lines may not stitch reliably. They may need to be widened or redesigned.
Gradients and Shadows
Embroidery does not reproduce digital gradients like a screen does. These effects may need to be replaced with solid thread colors or carefully planned stitch patterns.
Too Many Colors
A logo with many colors may require numerous thread changes. Simplifying the palette can make production more efficient.
Excessive Stitch Density
Overly dense embroidery can increase thread consumption and may cause fabric distortion or thread-related problems.
Tips for Better JEF Logo Conversion
If you want a cleaner result, keep these practical tips in mind:
- Start with quality artwork. Clean artwork is easier to digitize accurately.
- Avoid unnecessary tiny details. Simplification often improves embroidery clarity.
- Consider the fabric. Settings that work on cotton may not work equally well on caps or stretchy materials.
- Keep lettering readable. Choose embroidery-friendly sizes and shapes.
- Use appropriate stitch types. Match the stitch structure to each part of the logo.
- Check the stitch sequence. Good sequencing can reduce unnecessary jumps and color changes.
- Always test the design. A sample stitch can reveal problems before production.
When Should You Use Professional JEF Digitizing?
DIY embroidery software can be useful for simple projects, but complex logos often require more experience.
Professional digitizing can be especially helpful when your logo includes:
- Multiple colors
- Small lettering
- Detailed artwork
- Curved shapes
- Fine outlines
- Layered elements
- Complex stitch directions
- Special fabric requirements
At Digitizing Buddy, the goal is to turn artwork into practical embroidery files while keeping the original design recognizable and stitch-friendly.
A professional digitizer can also make design decisions that automatic conversion tools may overlook.
Automatic Conversion vs. Professional Digitizing
Automatic conversion can be convenient for simple artwork. However, automated tools may struggle with complicated logos, tiny details, overlapping objects, or unusual lettering.
Professional digitizing involves human decisions about stitch types, density, sequencing, underlay, compensation, and other embroidery settings.
The right approach depends on the logo, fabric, machine, size, and required quality.
How to Prepare Your Logo Before Conversion
You can make the process easier by preparing your artwork before sending it for digitizing.
Use a Clean Background
Remove unnecessary backgrounds, shadows, and visual elements that are not part of the actual logo.
Provide the Correct Colors
If your brand has specific thread colors, provide the desired color references when possible.
Specify the Final Size
Tell the digitizer where the logo will be used and its approximate finished dimensions.
Mention the Fabric
Include information about the material, such as cotton, denim, fleece, polyester, or a cap.
Provide the Original Artwork
If you have a vector version of the logo, provide it along with a high-quality raster image when available.
These details can help produce a more suitable embroidery design.
Why the Final Stitch File Matters
A successful logo conversion is not simply about obtaining a file with a JEF extension. The real goal is a design that stitches cleanly and represents the original artwork effectively.
A good embroidery file should balance appearance, stitch count, production time, thread use, and fabric behavior.
That is why proper digitizing is an important part of the process.
Conclusion
Learning how to convert logo into JEF file starts with understanding the difference between ordinary image files and embroidery files. A JPG or PNG shows an image, while a JEF file contains instructions that an embroidery machine can follow.
For the best results, begin with clean artwork, simplify details where necessary, select suitable stitch types, adjust density and sequencing, and test the finished design before production.
For simple logos, conversion may be manageable with suitable software. For detailed business logos or production work, professional digitizing can help create a more reliable, stitch-ready JEF file.
FAQs
1. What is a JEF file used for?
A JEF file is an embroidery design format associated with compatible Janome embroidery machines. It stores stitch information needed to reproduce a design.
2. Can I convert a JPG logo directly into JEF?
A JPG can be used as the source artwork, but it generally needs to be digitized before becoming a practical embroidery design. Simply changing the file extension will not create proper stitch instructions.
3. What logo format is best for JEF conversion?
High-quality vector artwork such as SVG, EPS, or AI can be helpful because the shapes are easier to work with. A high-resolution PNG or JPG can also be used.
4. Why does my converted logo look different when embroidered?
Thread behaves differently from pixels on a screen. Small details, thin lines, gradients, and complex shapes may need to be simplified or redesigned for embroidery.
5. Can Digitizing Buddy convert logos into JEF files?
Yes. Digitizing Buddy can help prepare logos as embroidery-ready designs, including JEF conversion and professional digitizing for suitable embroidery applications.

You may also like
Embroidery Digitizing Experts for Better Results